

How To Install A Frontal With Glue
How to Install a Lace-Front Wig, According to Experts

If you're anything like me, you've whiled away many, many hours of the pandemic watching 60-second TikToks of lace-front wig installations. (And the 231.9M views suggest I'm not alone.) It's satisfying to watch a wig become part of another person's head in under a minute, and when it's over, you can't help but think, I could totally do that. "Wigs are super-popular right now because they're really easy to do," promises Nicole Fulton, co-founder of wig brand the Hair Closet. "It's a great option for doing your hair in a complete look without too much work, and you really can do it at home." With that in mind, we asked Fulton and three other experts for tips on how to complete this process. The first step, of course, is to buy the wig — which we covered here — but once you have your unit in hand, here are all the products (and some helpful advice) that you'll need to successfully install it.
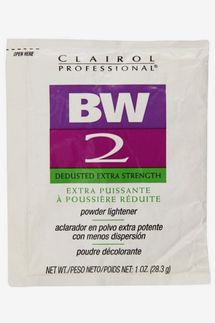

When you get your wig, it's likely that the knots on the lace where the hair is connected will be black – which can make it obvious that the lace of the wig is not your own scalp – so the first thing many people do is bleach these knots. "When you're bleaching it, you're making it almost see through so you don't see the little bitty knots," says A'lea Malcolm-Young, who reviews wigs on TikTok for her more than 400,000 followers. "That way it looks like it's coming straight from your head." To do this, Malcolm-Young says she mixes BW bleaching powder and 30-volume developer into a thick paste, "because you don't want it to seep through your wig," and then turns her wig inside out and applies it with a brush. YouTuber Mikaela White, also known as Pisces Finest, uses a similar process and says to "leave it on for about 20 minutes, rinse it off, and then wash it off using a purple shampoo, which basically tones the knots so that they're not orange and actually turn into a blonde color." She likes using the Shimmer Lights shampoo.
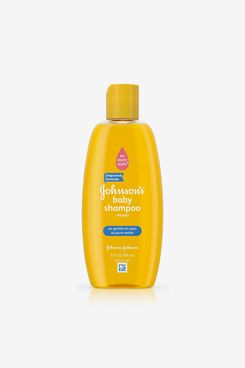
White also likes to shampoo and style the wig, which can only be done if you are using a human hair wig that comes unstyled. "I like to wash my wigs with baby shampoo," she says. "It's really the easiest, and it gets all the grease out." She occasionally uses dishwashing liquid, but the key, she says, is to use something with as few chemicals as possible. She also recommends washing the hair every so often to keep it clean and healthy.
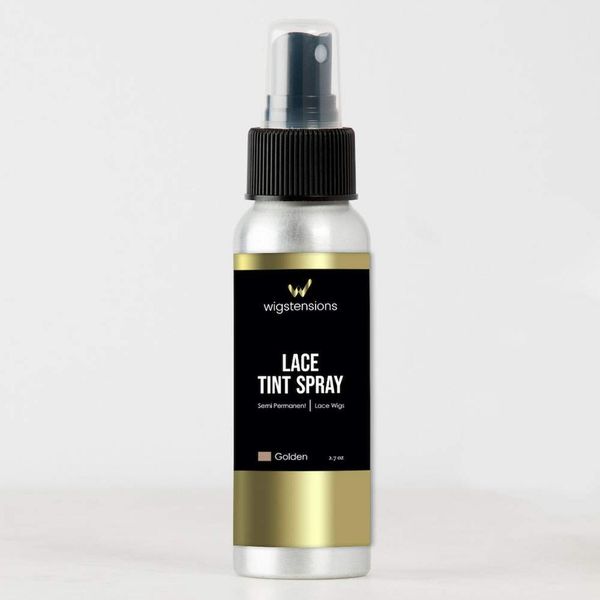
Now that you have bleached the knots, you can customize the lace to your skin tone. Some people use makeup for this step, but "I would recommend lace sprays more than makeup because makeup tends to get really cakey and is just a whole mess," says Malcolm-Young. She likes this Wigstensions spray because it comes in different colors for different shades of skin. "When you turn it inside out, spray the Wigstensions spray and then hit it with a blow dryer to seal the color in there," she adds.
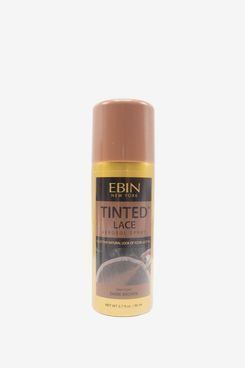
Kadeisha Placide, manager and lead stylist at Brooklyn salon Classic Beauty Studio, says they use this lace tint at the salon for a realistic finish. While Wigstensions only comes in three colors, Ebin comes in six different shades.
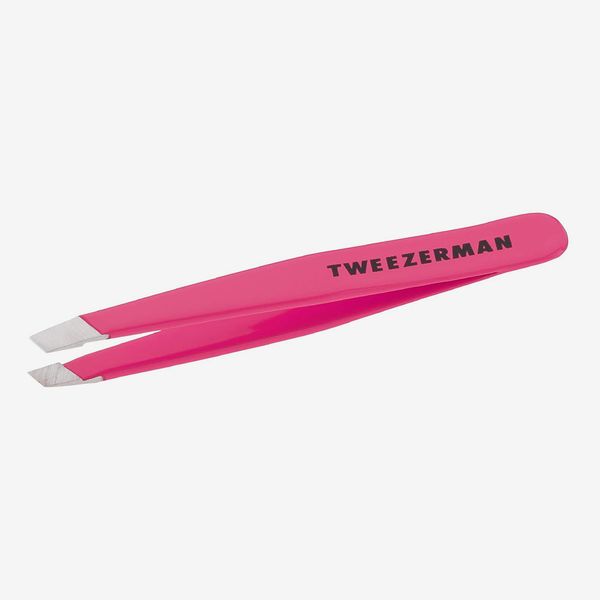
Plucking the hairline of the wig is essential to getting a natural-looking hairline and can be done with regular ol' tweezers. Everyone we spoke to said this step is tedious but really important. "You want to remove some strands of hair so that you break up any line of demarcation across the front," says Fulton. "You don't want anything to have a harsh line across the front of your hair." Place the wig on a wig head with t-pins and then move along the hairline plucking one to two strands at a time. "When you're plucking your wig, make sure that you don't stay in one section and take your time," says Malcolm-Young, warning that people tend to overpluck in certain areas. "What I do is alternate my hand across the wig, making sure that I'm plucking from different sections every single time I pull."
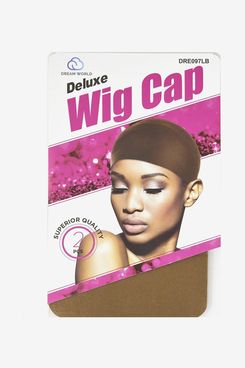
Once your wig is prepped, it's time to start the install process. First, secure your own freshly washed hair. You can do this by "braiding, twisting, or ponytailing your natural hair," explains Fulton, and then putting on a wig cap. Most of our experts say a regular elastic wig cap is perfectly fine, but Fulton recommends getting a wig cap that matches your skin tone, or adding makeup or lace tint so that "underneath your wig will look like your scalp, which is always the goal – you don't want your wig to look like a wig, you want it to look natural," she adds. She likes these (which are, in full disclosure, from her own shop) because "they're almost translucent once they stretch over the head, and they don't have too much tension." She notes that stocking caps and both latex and vinyl wig caps are other options. No matter what you choose, when putting it on, the cap should cover all of your hair, and Fulton recommends the four finger rule for how far down the wig cap should go. "You want to place your pinky finger at the top of your eyebrow, and then count four fingers up," she says. "Where your pointer finger or your index finger stops, that's where your wig cap is."
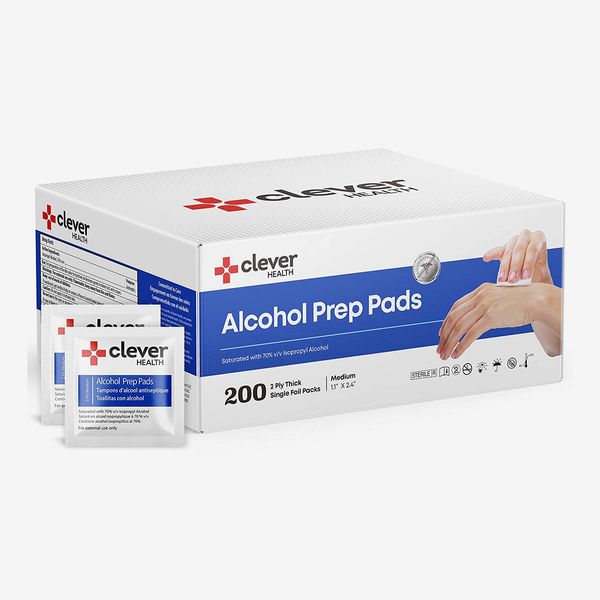
Once the wig cap is on, you want to make sure the area where you're going to adhere your wig is clean. Fulton recommends using an alcohol pad and wiping in front of the hairline (the skin, not the hair) to remove any residue from makeup or skincare products that could prevent the adhesive from properly sticking.
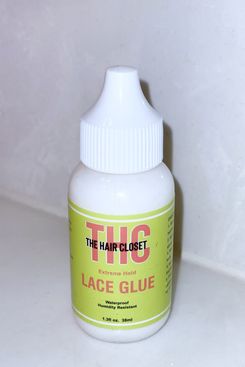
Now it's time to start gluing down the wig. There is no shortage of wig glues out there, but you want one that has a strong hold and, since this is going directly on your skin, won't cause you to break out. Fulton says not only is this one good for sensitive skin, but it also has a good hold and dries quickly. "Some lace adhesives take maybe 24 hours or 48 hours to cure," she says. This one cures within minutes, she says, so by the time it comes in contact with the wig, it's already set and you don't have to worry about your wig flying off. To apply the glue, Fulton recommends dotting it on or putting a thin line around the hairline and smoothing it out with a makeup sponge. Then hit it with a blow dryer, "and it's going to turn clear," she says. "You don't want it to be dry, you just want it to be clear." Once the adhesive is clear, repeat this step and apply a second layer of glue. Fulton says the more layers of glue you use, the stronger the hold will be. Plus, it'll be easier for the lace to "melt" into the skin for a more seamless look. You'll apply a third and final layer of glue in the next step of this process.
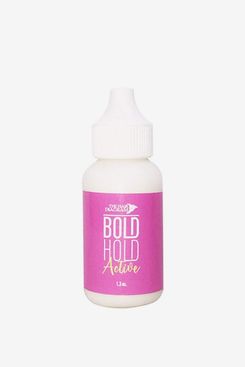
Another popular wig glue to use for this step is Bold Hold Active, which comes recommended by both Placide and White. It's made specifically for active use and White says it really holds up to sweat. "Because of the humidity here in Atlanta, it's really easy for me to sweat, but this lasts all night," White says. Like the above option, you can use a blow dryer to dry the glue. "When the glue is tacky and slightly dried, it is ready to be laid," says Placide.
The next step is to cut the lace (which you'll actually do twice in this process). Fulton says to make two vertical cuts into the excess lace, each one directly above the highest points of your eyebrows. This is going to allow you to move into your third and final layer of adhesive and work in sections. At this point, the wig should be on your head but not yet touching the glue. Starting in one of the sections "you'll dot dot dot [the glue], then you'll smooth, then you'll blow dry until it's clear," says Fulton. "And once it's clear, you're ready to attach the first piece of the unit. Pull your unit forward, and right where that adhesive is — you can see it because it's going to have like a really high gloss shine to it — pull the lace down and match up where the hairline of the unit is, right on to the edge of where you put the adhesive." She adds that it is important to be really intentional with where you place it, because if you do it wrong, you'll have to pull it off, thus removing the adhesive.
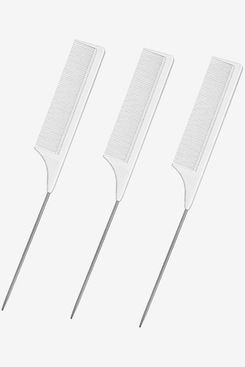
With the wig attached, Fulton says she likes to go in with a comb to press down the adhesive. "Grab a carbon comb that has a really nice back on it, and slide the comb into the hair of the wig, and then press down the adhesive and the unit together using the back of the comb." Then repeat the above glue and comb process for the following two sections, and your wig will officially be attached to your head. "After that, we usually suggest tying down the front of your unit with a scarf for about ten to 15 minutes to get that final curing," Fulton says. "Once you pull away the scarf, just hit it with a blow dryer really quickly to make sure everything is completely dry and sealed."
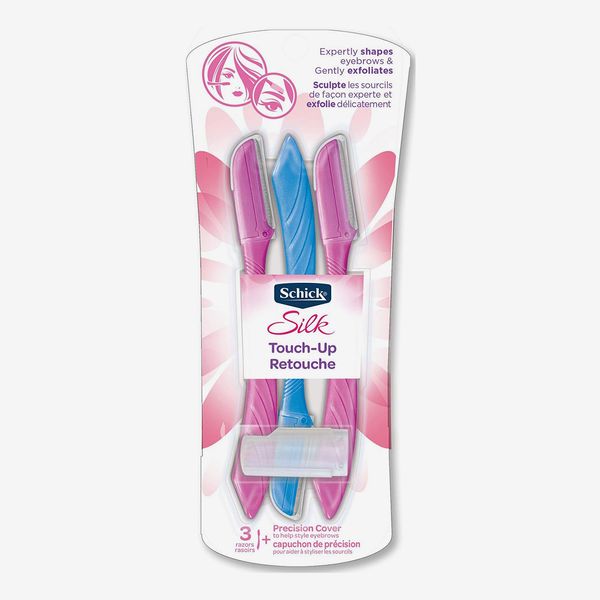
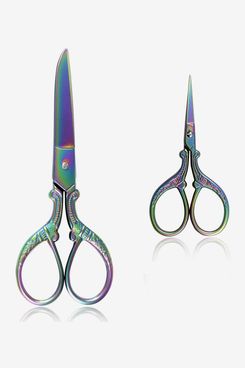
And now for the second lace cutting step, one the wig is secured, it's time to cut away all the excess lace. "Take a razor or a pair of scissors, and cut across the front so you have a hairline," says Fulton. She recommends cutting as jagged as possible. "If you cut it straight across, it could give you a line of demarcation, which is not good," she says. "It's a telltale sign that you're wearing a unit."
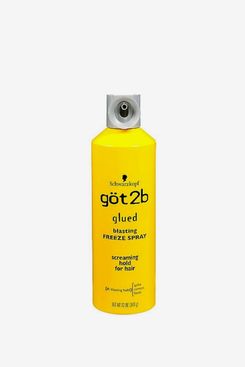
This final step of the installation process is key to having a natural-looking hairline. This is when you "melt" the lace. "The adhesive is great at melting the interior but you want to melt away that hairline to look completely undetectable," explains Fulton. "Take Got2b freeze spray and spray very meticulously across the front, making sure you're spraying as fine as you can. Spray down the front across the hairline and then press it in with the back of the comb. That will get that line to disappear completely." Next, Placide recommends using a satin scarf to tie down the hair line and apply some heat with either a blow dryer or hooded dryer "to really mesh the lace into your skin."
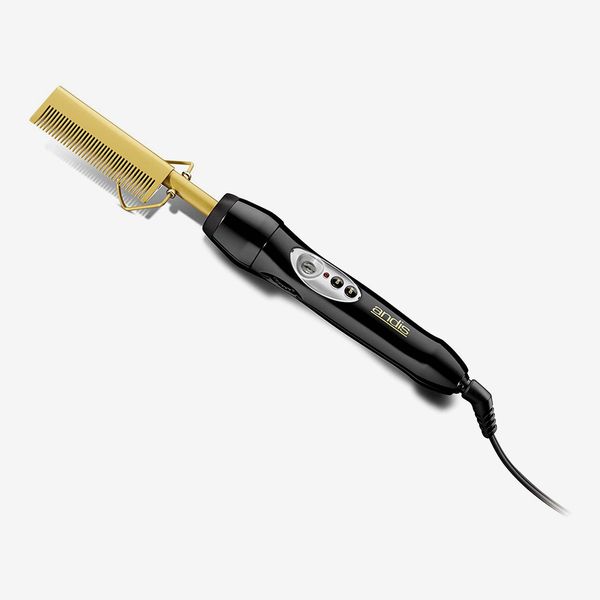
How much you can style your wig depends on how much the wig you purchased can be manipulated. Regardless of how you plan to style it, a general rule is that you want to press out the hairline and part with a hot comb. Placide says "this makes the wig appear more natural and realistic."
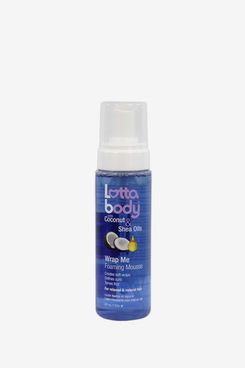
If your wig doesn't already come with baby hairs pre-cut, you can further style your wig by cutting them yourself. "You would take the front of the hairline, maybe 1/16 inch worth of hair across the entire front and then you would cut it to be anywhere from 3/4 inch to an inch long," Fulton says. Then mold it and shape your baby hairs with your favorite edge control. She adds that "it does make for a really nice, natural looking install that disguises the line of the lace, so it serves a purpose as well as style." Malcolm-Young likes using this mousse and then tying it down with setting paper and curing it with a blow dryer.
The Strategist is designed to surface the most useful, expert recommendations for things to buy across the vast e-commerce landscape. Some of our latest conquests include the best acne treatments , rolling luggage , pillows for side sleepers , natural anxiety remedies , and bath towels . We update links when possible, but note that deals can expire and all prices are subject to change.
How To Install A Frontal With Glue
Source: https://nymag.com/strategist/article/how-to-install-a-wig.html
Posted by: fordargift.blogspot.com
0 Response to "How To Install A Frontal With Glue"
Post a Comment